Introduction
That dripping tap that keeps you up at night. The running toilet that echoes through the house. A leaky faucet that floods your kitchen counter. All of these common plumbing issues might have you reaching for the phone to call a professional, but hold up. Could you fix these problems on your own?
Taking up a few DIY projects around the house is a good way to save money and improve your quality of life. By following online videos and written tutorials, you can sort out the leaky faucets, running toilets and other plumbing issues plaguing your home. Most of these issues are easy enough to sort on your own. While it isn’t hard work, you will need some specialised tools and some effort. It’s also a good idea to learn the difference between different glue, solders, fittings and pipes.
There are a lot of common plumbing mistakes that DIYers tend to make. Read ahead to learn what do avoid when fixing your faucets and pipes and do the job well.

10 Common Mistakes DIY Plumbers Make
1. They default to using drain cleaner as their first choice
The first thing most people do when their plughole is clogged is head to the shop and pick up some drain cleaner. Easy solution, right? Wrong. It’s much easier to use a snake or other barbed drain cleaning tool. By pouring drain cleaner down the plughole you end up damaging metal traps further, causing leaks in the long run. It can also destroy the rubber gaskets that are used in “mission” style couplings.
2. They wrap thread tape backward (or use the wrong tape completely)
This is an extremely common mistake that DIYers often make. While PTFE thread tape (also known as Teflon tape) needs to wrap clockwise around threads, a lot of people wrap it the opposite way. This means that it will actually unwind as they tighten the fitting, thus defeating the entire purpose of using the tape in the first place! Instead, wrap the Teflon tape around the threads three times. Face the last wrap to the left as you screw the pipe into the fitting.
3. They don’t gather the right tools before they start
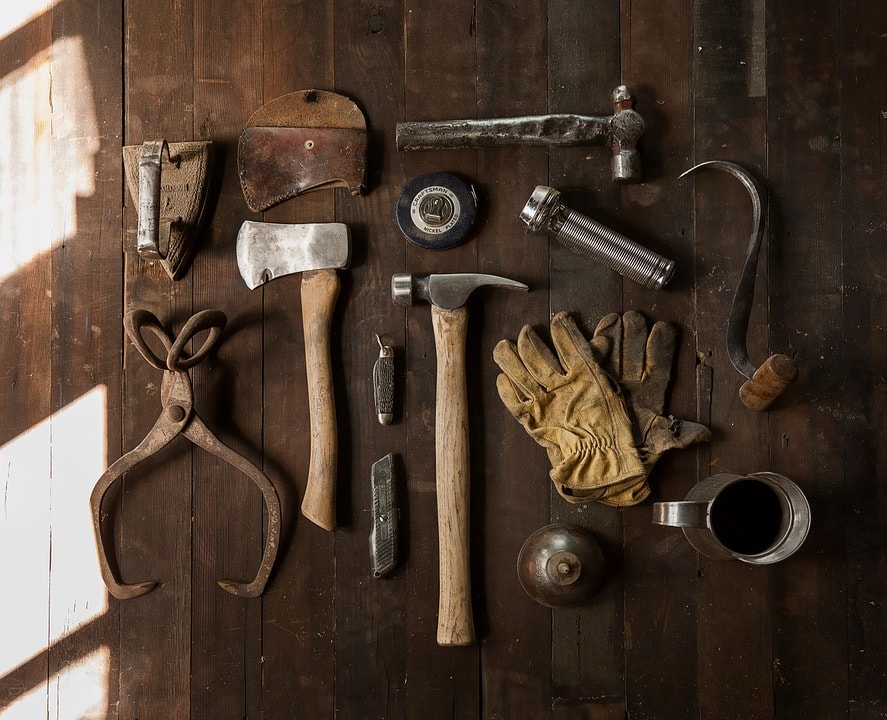
Before you start any DIY plumbing project, you should always gather all of the suitable plumbing supplies so that you have them to hand. The problem that some DIYers make is trying to make do with what they already have in the house. This can cause huge problems, as they can end up breaking pipes and damaging hardware. It is far smarter to buy an affordable set of internal pipe wrenches, or any other recommended professional tools that are needed for the job. . The same advice applies to other plumbing repairs.
4. They go a bit too ‘Incredible Hulk’ on stuck shut-off valves
The shut off valves on sinks and toilets don’t tend to get used very often, and as a result they can easily get stuck or seize. Many DIYers think that if they can’t turn the knob easily by hand they should crank up the muscle power. Doing so, they just end up breaking off the knob, and sometimes even breaking the valve stem. If you can’t hand turn the knob, the stem packing seal has become welded to the valve stem. The solution is to use an adjustable wrench to loosen this bond, enabling you to turn the knob.
5. They over tighten the connections
This is often referred to as the #1 DIYer mistake! When you over tighten supply tubes, toilet bolts, and pipe and fittings, you can easily crack the fittings. What can make this even worse is that the crack might not appear immediately. Instead, excessive force can cause the fitting to break weeks or months later, causing a costly flood and destroying your toilet or pipes.
6. They start the job without having spare parts to hand
If you have determined that the washer or the cartridge is the problem, you might head into the job with just these spare parts to hand. Makes sense, right? Wrong. If one part is worn or not working well, the chances are that other faucet parts might also need to be replaced. It is always a good idea to have spare stem seals, and gaskets and O-rings to hand when you are planning to replace the washer or cartridge. This is a common mistake that DIYers make, meaning they have to run out to the shop in the middle of the project.
7. They don’t turn off the water before getting started
Ok, Ok – this one seems like it should go without saying, but you would be amazed by how many people neglect this step. Whether they simply forget to do it or they think they can swap a new valve in quickly, they end up with full pressure water flooding their space. This can cause far more damage than what they set out to fix in the first place! Always shut off the water at the main water supply valve before you do anything.
8. They sweat copper pipes while there is still water in the line
Copper pipes and fittings are unique in that they must be bone dry before sweating. Some DIYers start working without ensuring that everything is dry, and they end up causing the joint to leak. Now, you might be thinking – ok, I will speed up the process by boiling off the water with my torch! Nope – it won’t work. The steam actually causes more problems, as it causes pinholes in the sauter and more leaks will spring everywhere. The tried and true solution? Even professionals use white bread to plug the pipe! Of course, you can also use a special capsule-like plug to make sure everything is completely dry before you start.
9. They get wyes, tees and elbows mixed up
One of the things that sets the real plumbers apart from DIYers is that they know their drain fittings inside and out. Using the correct drain fittings for different applications is important in order to avoid nasty odours and code violations. All kinds of situations will call for a wyes, tees or long or short sweep elbows – mixing these up can spell out mess and costly disasters in your home. Study up on the different drain fittings before you get started. If you are in doubt, call a plumber.
10. They use a saddle valve (instead of a ball valve) for an ice maker or humidifier
Some ice makers and furnace humidifiers still include piercing saddle valves, even though they don’t meet most current plumbing codes. Some home centres still continue to sell them! This means that some DIYers continue to install them in their homes, making this an all too common mistake. Saddle valves are known for leaking, especially in any appliance where they are opened and closed often. This type of valve is often installed out of view, and so potential leaks can be missed for weeks or months. This causes expensive damage and mould problems. Save yourself the hassle and only use ball valves. It pays to inspect your home to see if there are any saddle valves hiding, and replace them now to nip problems in the bud.
Summary
By avoiding these common DIY mistakes you can rest assured that your amateur plumbing project will be successful. Remember, if you are ever in doubt or if the job seems too big to tackle on your own, call a professional to get the job done right.
