There are many things that can be done with underfloor heating in a home, whether it be adding it to a wet room, loft conversion, or even between joists. Navigating the joists around your home can be daunting, but in this article, you will find the appropriate ways of how to add underfloor heating between joists. Here, you will also learn how to accurately locate joists in any building and the best positioning for UFH between them.
But before we begin, make sure to know the difference between a beam and a joist.
Table of Contents
What is a Joisted Floor?
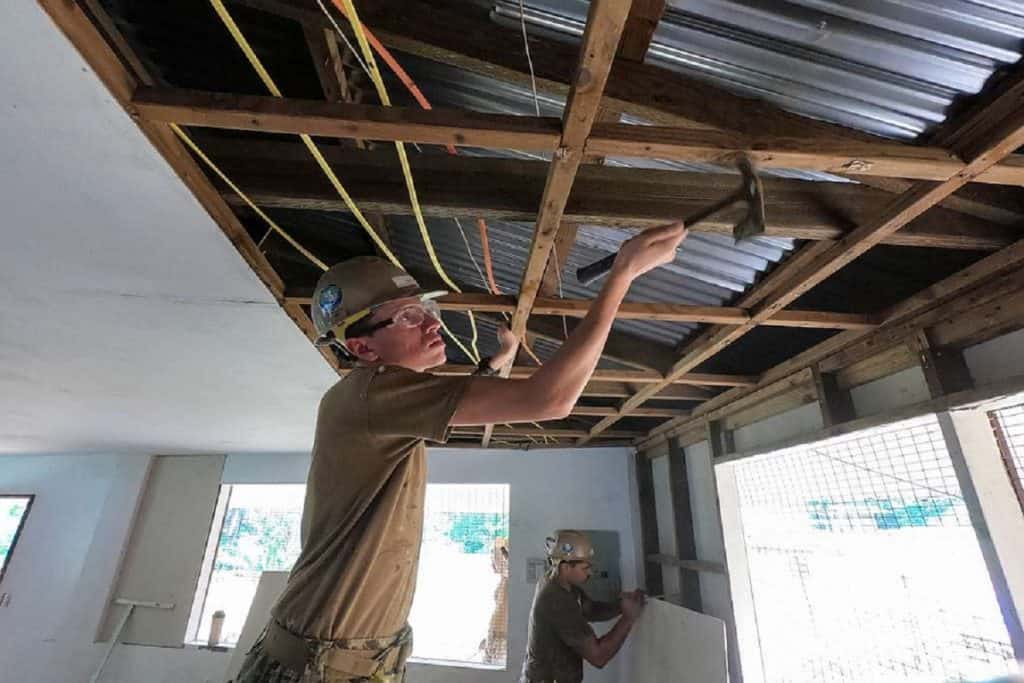
In its simplest form, all you have to do to find your joisted floor is to remove the floorboards in your building or home to reveal the joists below. Next, position either Aluminium Spreader Plates or aluminium-coated EPS panels for better heat distribution. With between joist underfloor heating in place, you can operate at a modest 55°C, ensuring maximum comfort without increasing the height of the flooring in your home.
Below is a table to clarify which underfloor heating project would work best in different rooms around your home.
| X | Screed | Joist | Rapid Response |
| Extensions | ✅ | ✅ | ✅ |
| New builds | ✅ | ✅ | ✅ |
| Renovations | ✅ | ✅ | ✅ |
| No need to dig up flooring | ✅ | ||
| Best heat up time | ✅ |
For more information about each of these projects, we have helpful guides, including:
- how to install underfloor heating in your conservatory
- how long does screed take to dry
- Is conservatory or extension is better.
We offer advanced suspended floor panels that can be integrated with joisted floor systems with close pipe centres and robust aluminium for precise control. Our set-back thermostats ensure energy efficiency and eco-friendliness at low temperatures…perfect for both vintage and modern homes.
Using Spreader Plates for Underfloor Heating
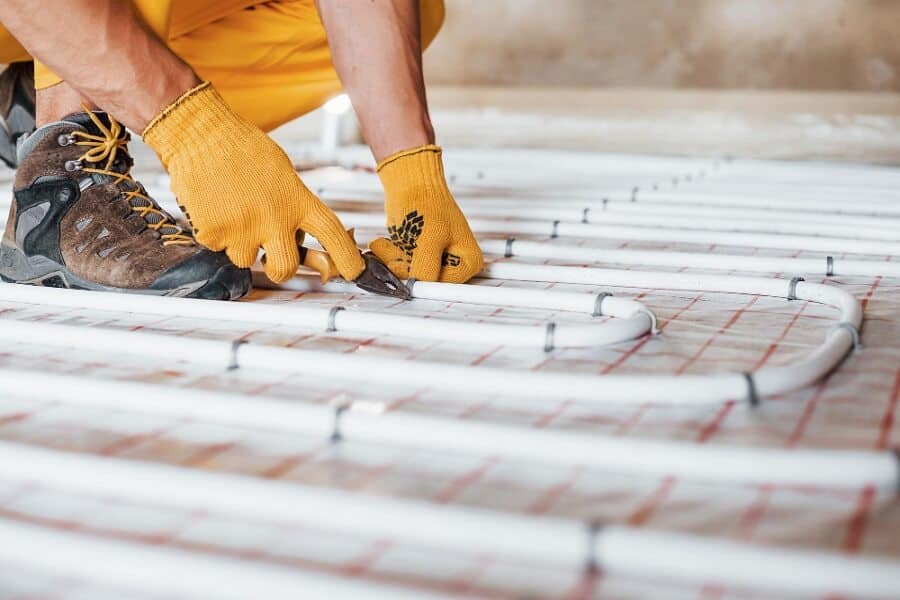
Aluminium spreader plates are the tools that you need for an efficient underfloor heating between floor joist systems. These aluminium plates, designed with 16mm grooves at 200mm centres, are secured to the joists using screws or nails, perfectly housing our 16mm x 100m Pex-Al-Pex pipes.
For a typical setup, assuming adequate joist depth, battens are affixed to the joist sides approximately 70mm from the top. Following this, a 50mm foiled-faced insulation, such as celotex or kingspan, is tailored and set onto the battens.
Finally, the piping is seamlessly clipped into the spreader plates.
In Joist Boards for Underfloor Heating

We offer an exclusive range of low profile insulation boards, a game-changer that is designed for the specific take of adding underfloor heating between joists. These boards ingeniously merge the functions of spreader plates and insulation. With a thick insulation layer, they come with pre-formed grooves to fit comfortably between different flooring types.
For a standard between joist underfloor heating setup, given sufficient joist depth, you can attach battens from the top of the joist. The underfloor heating trays between joists are then laid atop the battens, allowing pipes to be effortlessly clipped into the grooves.
Profloor for Joist Underfloor Heating
We also recommend using Profloor end return panels when setting up underfloor heating between joists. These panels seamlessly integrate with Profloor chipboard panels, ensuring the underfloor heating pipes loop back into the room, making it ideal for underfloor heating on first floor timber joists. With spacings no wider than 400mm centres, this between joist underfloor heating system, designed for 16mm pipes, not only reduces material costs but also slashes installation time.
The underfloor heating chipboard is a breeze to set up, requiring no additional adhesive, which means zero drying time.
However, if you feel that you do need to use adhesive during your project setup, then follow our helpful guide on what is the best adhesive for underfloor heating.
Using Screed for Wet Underfloor Heating
You can also use air source kits with joists for your underfloor heating setup that can bear additional weight; our screed system offers a compelling solution for underfloor heating between joists. The dried screed mix, especially with gypsum screed boards, retains heat remarkably longer than other joist underfloor heating methods, functioning much like a vast radiator.
Ensure your joists have the requisite depth for battens, similar to other underfloor heating between floor joists solutions. The pipes from the overlay underfloor heating system are then anchored directly to the insulation. Subsequently, the dry screed mix is poured, levelling it with the joists.
How to Install Underfloor Heating Between Joists

Now that you have the necessary equipment ready, you can now start installing underfloor heating between joists in your building or home. However, there are a few methods to consider when going through this process, as you can see below.
1. Batten & Insulation Method
Start by affixing wooden battens along each joist, positioned 100mm/75mm from the joist’s top. Introduce 75/50mm foil-backed insulation brands like Kingspan or Celotex between the joists, supported by these battens.
Ensure a 25mm gap from the insulation’s top to the joist’s peak.
Staple the pipes onto the insulation. Depending on joist dimensions, a sand/cement blend can be applied for thermal mass.
Note: The biscuit mix adds a weight of 20 kg/m2; consult your building surveyor for suitability.
2. Cross Battening Technique
Initiate by fitting 2” x 1” battens at 400mm intervals, simulating a faux joist floor. Leave a 100mm gap at each end for pipe routing and manifold returns. Secure the pipes to the floor using nail clips.
If feasible, apply an 8:1 sand and cement mixture. Subsequently, lay chipboard flooring, attaching it to the battens.
The final floor covering can be placed on top, or a solid/engineered floor can be set at a 90-degree angle to the battens.
This method elevates the floor by 25mm plus the flooring thickness from its original position. Ideally, insulation should be positioned beneath the original level.
3. Aluminium Spreader Plate Approach
Utilise double-groove aluminium spreader plates, attaching them to the joist tops. Secure the pipes to these plates. This technique doesn’t provide the same thermal mass as the other methods above. Additionally, potential expansion noises might arise due to plate expansion and contraction. Given the 200mm spacing between pipes, this method isn’t recommended for use with underfloor heating pumps.
Problems that you may face
As you begin this task, you may come across the following list of problems. Make sure that you note them accordingly to ensure that you can install underfloor heating between joists smoothly.
- Structural Concerns: The weight of the underfloor heating system, especially when combined with screed, might be too much for some joisted floors to handle. It’s essential to ensure that the joists can bear the additional weight.
- Incorrect Installation: If not installed correctly, the system might not work efficiently, leading to uneven heating or even system failures.
- Noise Issues: Expansion and contraction of materials, especially with aluminium spreader plates, can sometimes cause unwanted noises as the system heats up and cools down.
- Insufficient Insulation: If the insulation isn’t adequate or is improperly installed, it can lead to heat loss, reducing the system’s efficiency.
- Complex Pipe Layout: Navigating pipes between joists can be tricky, especially in older homes where joists might not be uniformly spaced.
- Increased Floor Height: Some systems might raise the floor level, which can be problematic, especially at door thresholds or where the floor meets walls.
- Compatibility Issues: Not all underfloor heating systems are compatible with all types of flooring. Homeowners need to ensure that their chosen floor covering is suitable for underfloor heating.
- Maintenance Access: Once installed, accessing the system for repairs or maintenance can be challenging without disrupting the floor.
- Thermal Blocking: Objects or furniture placed on the floor can block the heat, leading to uneven room temperatures.
Benefits of Underfloor Heating Between Joists:
At the same time, there is also an equal amount of benefits that installing underfloor heating between joists can also bring to your home or building.
- Even Heat Distribution: Unlike traditional radiators that heat from one location, underfloor heating provides an even warmth across the entire floor surface.
- Space Saving: With the heating system beneath the floor, homeowners can free up wall space that would otherwise be taken up by radiators.
- Aesthetic Appeal: Without the need for visible radiators, rooms can have a cleaner, more streamlined appearance.
- Safety and Comfort: The system eliminates hot surfaces and sharp edges, which is especially beneficial in homes with children or elderly residents.
- Flexibility in Design: Homeowners have more freedom in interior design and furniture placement without the need to consider radiator locations.
- Improved Air Quality: Underfloor heating reduces the circulation of dust and allergens compared to forced-air heating systems.
- Works with Various Floorings: Whether it’s tile, wood, or carpet, underfloor heating is compatible with a variety of floor coverings.
- Adds Value to the Home: A modern heating system can increase the property’s value and appeal to potential buyers.
- Reduced Drafts: Unlike traditional heating systems that can create drafts as they circulate warm air, underfloor heating provides consistent warmth.
Safely Install Underfloor Heating Between Joists with Us
Now that is everything that you need to know about how to add underfloor heating between joists safely. Hopefully, you are now more than prepared to do this task yourself, although you can still hire a professional if you feel that this project is beyond your means. Nevertheless, it may seem like a daunting task, but in fact it is a simpler way to distribute heating in your home too.
FAQs
Is it worth insulating between floor joists?
Absolutely! Insulating between floor joists is crucial for several reasons. Firstly, it enhances the efficiency of the underfloor heating system by preventing heat loss downwards and directing the warmth upwards into the room. This not only ensures a more consistent temperature but also reduces energy consumption, leading to lower heating bills. Additionally, insulation can act as a sound barrier, reducing noise transfer between floors.
How long does it take to install underfloor heating between joists?
The installation time can vary based on the size of the area, the specific method chosen, and the complexity of the joist structure. On average, for a standard-sized room, it might take 1-2 days. However, it’s essential to factor in additional time for any preparatory work, such as removing existing floorboards or ensuring the structural integrity of the joists.
Can I use any type of flooring with underfloor heating between joists?
While underfloor heating is compatible with a variety of floor coverings, some materials conduct heat better than others. Tiles, stone, and certain engineered woods are excellent conductors of heat. However, thick carpets or certain types of laminate might insulate the heat, reducing the system’s efficiency. It’s essential to consult with flooring experts and ensure the chosen material is suitable for underfloor heating.
What’s the difference between electric and water-based underfloor heating for joisted floors?
Electric underfloor heating, often known as “dry” systems, uses electric coils placed between joists to produce heat. They are typically easier and quicker to install but might be more expensive to run. Water-based or “wet” systems circulate warm water through pipes placed between joists. They are more involved in terms of installation but can be more energy-efficient in the long run, especially when integrated with renewable energy sources.
Do I need a professional to install underfloor heating between joists, or can I do it myself?
While some DIY enthusiasts might feel confident taking on the project, it’s generally recommended to hire a professional. Installing underfloor heating between joists involves understanding the structural integrity of the floor, ensuring even heat distribution, and potentially working with plumbing or electrical systems. A professional will ensure the system is installed safely and efficiently, providing optimal performance.
Can you use underfloor heating alongside soundproofing in timber joist floors?
Yes, underfloor heating can be used with soundproofing in timber joist floors. For more information on the best ways to soundproof a timber floor, consult a professional and consider the guidance provided by The Soundproofing Store. Professional help is recommended for effective integration of both systems.
Sources
Roofing Superstore. (n.d.). What’s the Difference Between a Beam and a Joist? [online] Retrieved from: https://www.roofingsuperstore.co.uk/help-and-advice/product-guides/flat-roofing/whats-the-difference-between-a-beam-and-a-joist/ [accessed 24/08/23]
