Is your underfloor heating system performing optimally? The right installation of a heating probe can make all the difference.
Are you struggling to measure the temperature of your underfloor heating? You might be missing out on a probe that can give you the accurate measurements to reassure you that your system is working correctly. But what is an underfloor heating probe, what does it look like, and how can you use it yourself without the aid of a professional? In this article, you will learn the process of an underfloor heating probe installation, why you might need one, as well as step by steps on testing these vital components.
Key points:
- Learn what an underfloor heating probe is and its role in your heating system.
- Discover whether your underfloor system needs a floor sensor.
- Explore step-by-step instructions for proper installation.
- Find out how to test your heating probe to ensure functionality.
- Get expert tips on optimal placement and maintenance.
- What is an Underfloor Heating Sensor?
- The Importance of a Floor Sensor in Underfloor Heating
- Guidelines for Underfloor Heating Probe Installation
- 1. Preparing for Installation
- 2. Installing the Conduit
- 3. Temperature Distribution
- 4. Sensor Positioning
- 5. Cable Management
- 6. Final Connections and Testing
- Can Underfloor Heating Probes and Power Supply Cables Be Extended?
- How to Extend Cables
- Installation Considerations
- How Underfloor Heating Trade Supplies Can Help With Probe Installations
- FAQs
- Sources
What is an Underfloor Heating Sensor?
An underfloor heating sensor, often referred to as a floor probe, is an integral component of an underfloor heating system (UFH).
This sensor works simultaneously with the thermostat and other heating controls to regulate the temperature by measuring the floor’s heat rather than the air’s. Unlike standard air sensors located within the thermostat, an underfloor heating probe provides a more specific temperature control, essential for radiant floor heating management.
The Importance of a Floor Sensor in Underfloor Heating

While UFH systems can function with just an air sensor, integrating a floor sensor offers significant advantages, especially in scenarios where floor coverings are sensitive to heat.
Materials like vinyl and wood have better heat tolerances; by using an underfloor heating probe, you can prevent overheating, ensuring that the floor coverings remain intact without warping or becoming unstuck.
Moreover, a floor sensor allows for the customisation of floor temperature, which can be particularly beneficial in rooms like bathrooms or kitchens. Here, you might prefer a warmer floor to provide a comfortable underfoot feel, a feature especially common in electric underfloor heating systems with hard flooring. Setting the thermostat to control the floor temperature directly enhances comfort and efficiency.
Guidelines for Underfloor Heating Probe Installation

Here is how you can effectively use an underfloor heating probe during installation of your system:
1. Preparing for Installation
When planning the underfloor heating probe installation, it is crucial to follow the manufacturer’s guidelines closely. However, general principles apply universally:
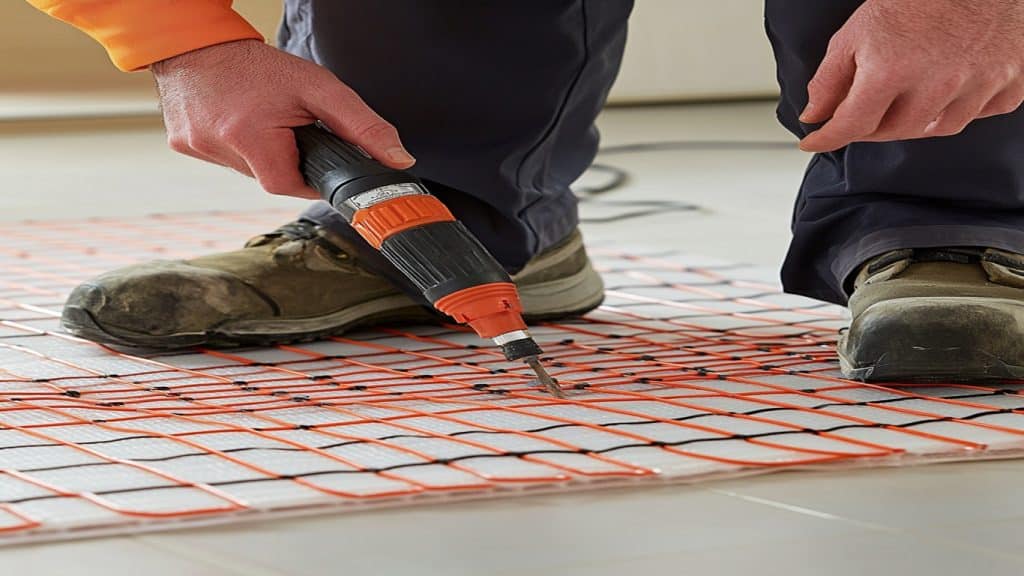
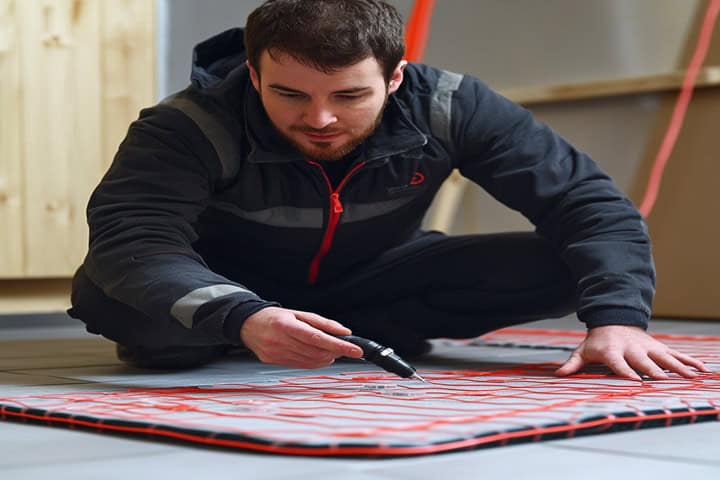
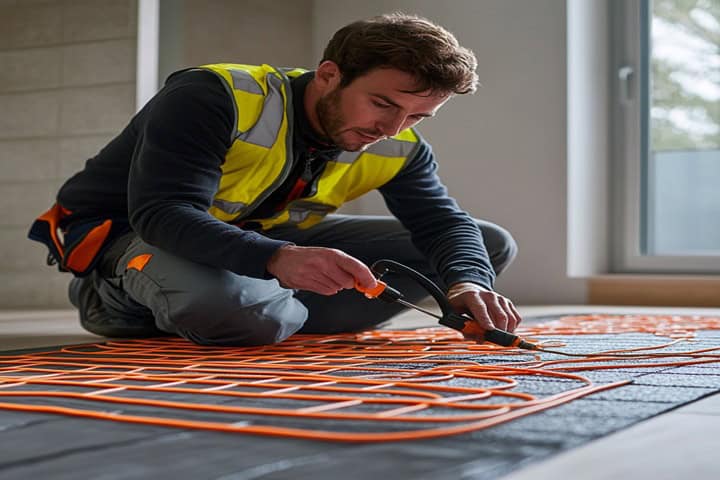
- Location of the Probe: Ensure the probe is placed equidistant between the heating wires and never crosses them. This positioning prevents interference and potential damage.
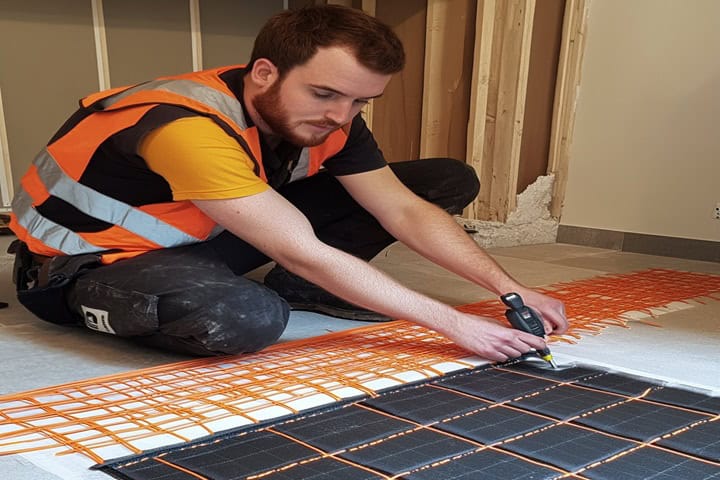
- Installation Above or Below: The probe can be installed either above or below the heating mat. Consider the final flooring when deciding the installation height to ensure accurate temperature readings.
2. Installing the Conduit
Position the conduit into the back box and carefully feed it down through the wall cavity. Continue by feeding the sensor probe cable to the end of the conduit. This initial setup is crucial for protecting the wiring and ensuring that it is not exposed to potential damage during and after installation.
3. Temperature Distribution
For better temperature control, the conduit and sensor should be centrally positioned between two runs of heating pipework. This placement allows for the most accurate temperature readings.
The sensor should be located at least 300mm away from the wall where the corresponding thermostat is located.
For screeded floors, channel the sensors into the top of the screed layer, while in floating systems, they should go into the top of the insulation layer.
Secure the sensor cable or the conduit to the floor using tape, but ensure not to cover the sensor tip itself.
4. Sensor Positioning
Avoid placing the floor sensor in areas susceptible to sunlight or drafts as these conditions can affect temperature readings. After installation, it is crucial to test the floor sensor.
Use a multimeter to check the resistance, which should typically read between 9-23K ohms depending on room temperature.
If the readings are outside this range, it may indicate damage to the sensor or its cable.
5. Cable Management
The sensor’s cable may need to be extended up to 50m but must be done using an appropriately screened cable to maintain integrity.
Keep the sensor wire in a separate 1/2″ conduit from the lead wire to prevent any electrical interference and ensure accurate readings.
This separation is critical in minimising any potential cross-signal interference that could affect the system’s functionality.
6. Final Connections and Testing
Ensure that neither the unheated lead nor the sensor wire crosses or comes into contact with the heating element. To minimise the increase in floor height, it might be necessary to chisel out a channel in the sub-floor for the floor probe.
Finally, connect the sensor wires into ports 1 and 2 of the thermostat. The probe wires are non-polarised and can be connected to either port without concern for direction.
Before finishing the installation, test your probe with an electrician using a multimeter set to the lowest possible ohms scale. The resistance should ideally be between 7 and 17 ohms, confirming that all connections are secure and the system is functioning correctly.
Use this guide on how to measure voltage to ensure your measurements are precise and correct.
Can Underfloor Heating Probes and Power Supply Cables Be Extended?
The correlation between an underfloor heating probe installation and extending power supply cables can offer unique results. This is especially relevant when fitting underfloor heating to larger areas. It’s vital to understand that while extensions are possible, they must be executed with precision to maintain system integrity and safety.
How to Extend Cables
If you find that the floor sensor cable or the floor probe is too short during the installation process, rest assured that both can be extended. However, these modifications should only be undertaken by a qualified and certified electrician to ensure safety and functionality.
- Power Supply Cables: These can typically be extended using a suitable twin and earth cable, which provides the necessary durability and conductivity.
- Floor Sensor Cables: Extension of these cables should be done using bell wire, known for its thin and flexible properties, making it ideal for underfloor heating applications.
Always consult with a certified electrician or contact us today so that we can provide detailed advice and carry out the extensions according to industry standards.
Installation Considerations

When extending any cables, be mindful of their positioning.
Avoid areas near hot water pipes, as these can interfere with the accurate reading of floor temperatures. Proper routing and shielding of extended cables are crucial to prevent electromagnetic interference and physical damage.
Learn more about underfloor heating pipe spacing to prevent disaster…
How Underfloor Heating Trade Supplies Can Help With Probe Installations
We offer the best underfloor heating systems tailored to meet different flooring needs. Whether you’re retrofitting an older home or integrating UFH into new builds, our systems are designed for seamless integration and efficient performance. With a focus on quality and customer satisfaction, we ensure that every installation meets high standards of efficiency and durability, providing comfort and value to every project.
Further reading:
Based on what has been discussed in this article, here are some ways you can expand your knowledge with underfloor heating via our blog:
- What is the cost of bathroom underfloor heating, and how might it differ from other rooms?
- Vinyl flooring with underfloor heating – how can it be installed correctly?
- What are the most common underfloor heating problems that you might face before, during, or after installation?
- Discover the pros and cons of underfloor heating to make an informed decision about whether it’s the right choice for your home.
In conclusion, proper installation and testing of underfloor heating probes can make all the difference when installing your heating system. By following professional guidelines, ensuring proper cable extensions, and conducting thorough tests with a multimeter, you can achieve efficient and reliable heating.
FAQs
What length of probe cable is required?
The length of the cable depends on the distance between the probe installation point and the thermostat. Ensure there is enough cable to run securely and safely without stretching or coiling excessively.
What type of conduit should be used for the probe?
Use a heat-resistant flexible conduit that can withstand the temperatures and environment typical of underfloor heating systems.
What precautions should be taken to protect the probe during installation?
Ensure the probe is placed within a conduit or protective sleeve to allow for replacement if needed and to protect it from damage during the screed pouring and setting process.
Sources
Hioki. (n.d.) How is voltage measured? It’s easy to measure voltage using a tester. [online] Available at: https://www.hioki.com/euro-en/learning/methods/voltage-measurement-methods.html [accessed 10/09/24]
